Home Cured Olives
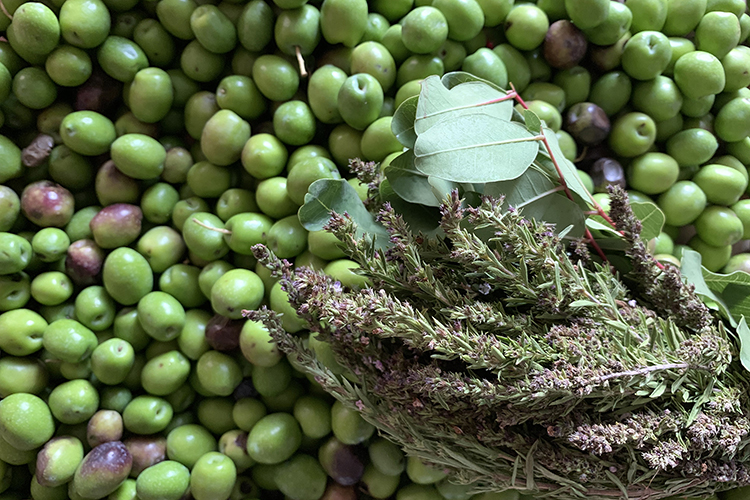
As summer draws to a close – somewhere towards the end of September (2019) – the olive harvest begins. This year, to save me from tears, I decided to buy a 5kg sack of olive and prepare them myself. My fresh olive guy in Mercado Central said that if I brined them properly, they would last a year or two – no chance of that: they are delicious. My home cured olives don’t compare with any I have bought; not the one sold in glass jars, not even the ones sold loose at the olive and dried shark stall. So if you like olives – and have access to olive trees or their fruit – you have to make your own.
This is what the man said I should do:
Makes loads
1. Preparing and curing the olives
a large bowl
water
a. have a look through your olives, removing any that are bruised or have succumbed to pests.
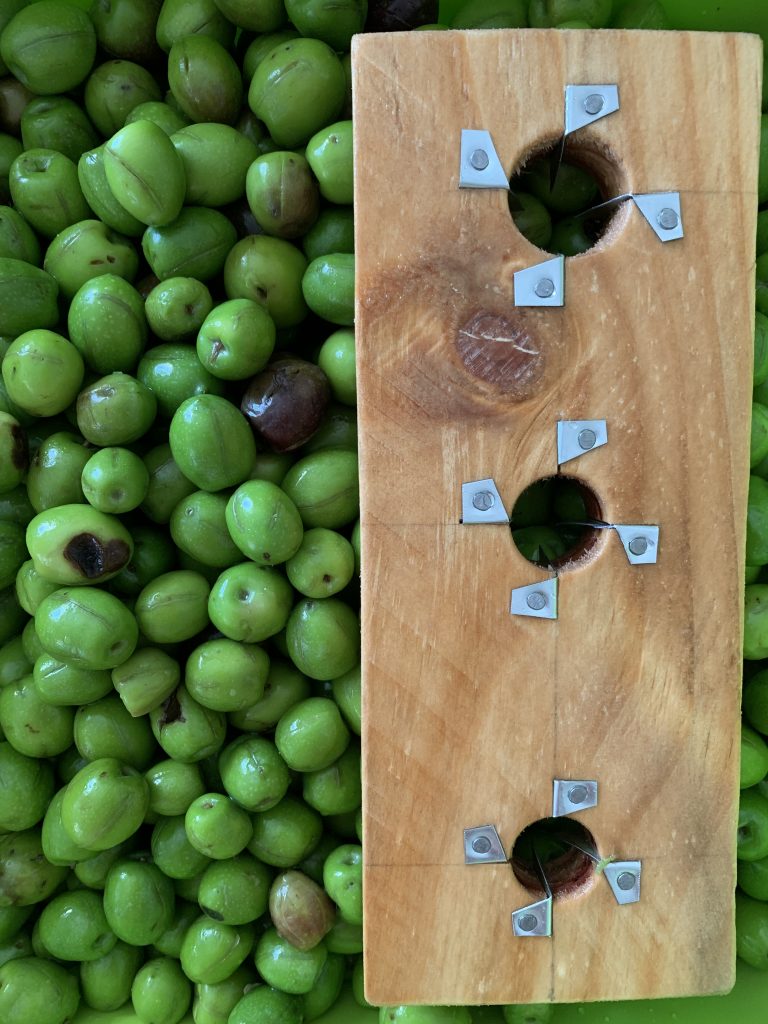
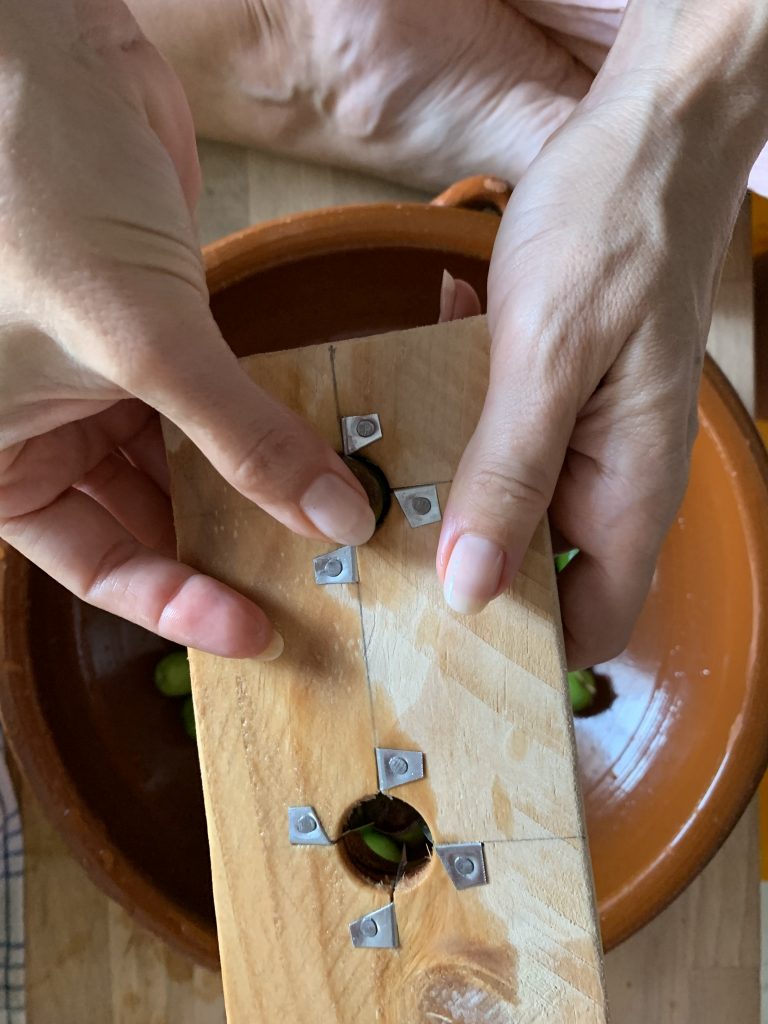
b. Use an olive scorer or knife to score the olives. The other alternative is to smash them with a wooden mallet or rolling pin. The fresh olive guy warned me against this as it is incredibly messy.
c. Put the scored olives into a large washing up type bowl.
d. Wash your olive well before covering them with fresh, clean water.
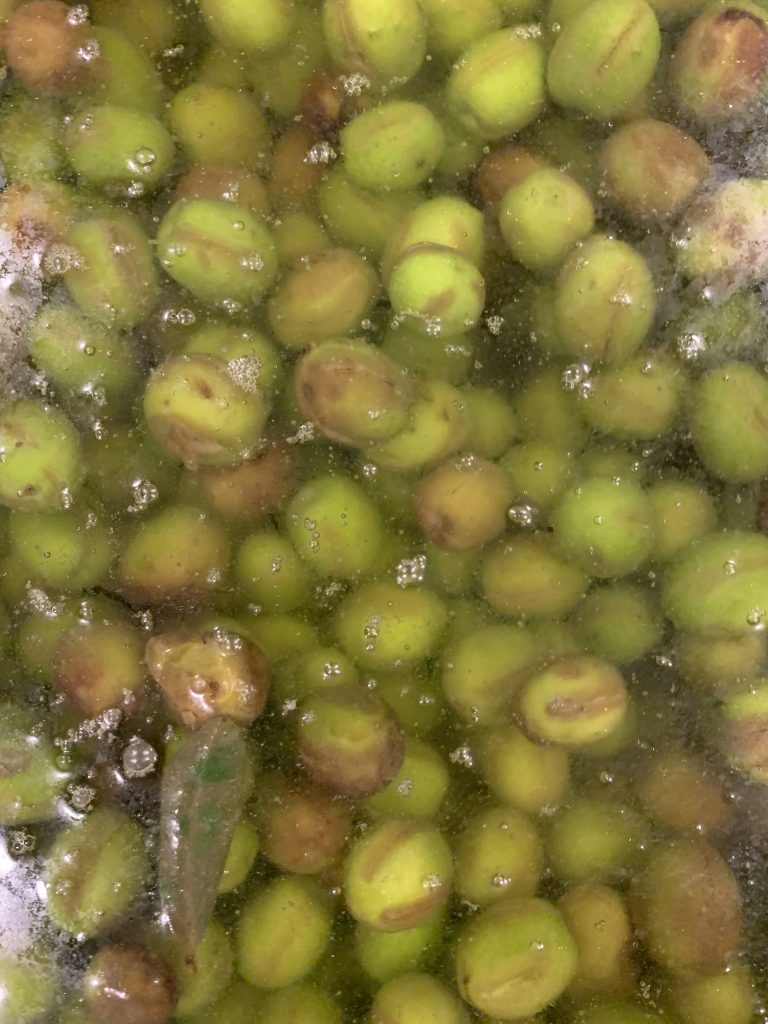
e. Cover (I used a tea-tray) and leave for 6 days: changing the water twice daily. After a couple of days, you will start to notice bubbles on the surface – that’s fermentation, that is.
n.b., never leave the olives more than seven days as they will become mushy.
2. Brining the olives
Olive herb mix: In Valencia we use ajedrea (Satureja montana) and algaroba leaves (Ceratonia siliqua)
water
salt
a. Rinse your olives.
b. Prepare your jars – Kilner or otherwise – by washing in hot water with washing up liquid. Rinse well.
c. Cut the herbs into 5cm-ish sections.
d. To fill the jars, start with a thin layer of herbs followed by alternate layers of olive and herbs.
e. When you have divvied up the olives and herbs, it’s time to make the brine. For every litre of fresh filtered water (1000ml) add 100g of sea salt. 10:1 ratio.
f. Fill your jars with the brine, making sure that all your olives are covered. If they are exposed, all the wrong bacteria will thrive. Remember: if it’s below the brine, all will be fine!
2. Marinating the olives
Once your olives have spent at least 14 days in their briney halfway house, it’s time to add some more flavour. If you prefer a mellower olive, I suggest you leave them in the brine for a couple of months. It’s now January and I still have 10 jars of olives in brine awaiting their final marinade.
a. Drain the olives and remove the brining herbs..
b. Prepare your jars – Kilner or otherwise – by washing in hot water with washing up liquid. Rinse well.
c. Choose and prepare your marinade.
d. Fill the jars leaving room for the marinade ingredients.
e. After adding the marinade, fill the jars with olive oil.
f. Leave for another fortnight before eating.
JAM x
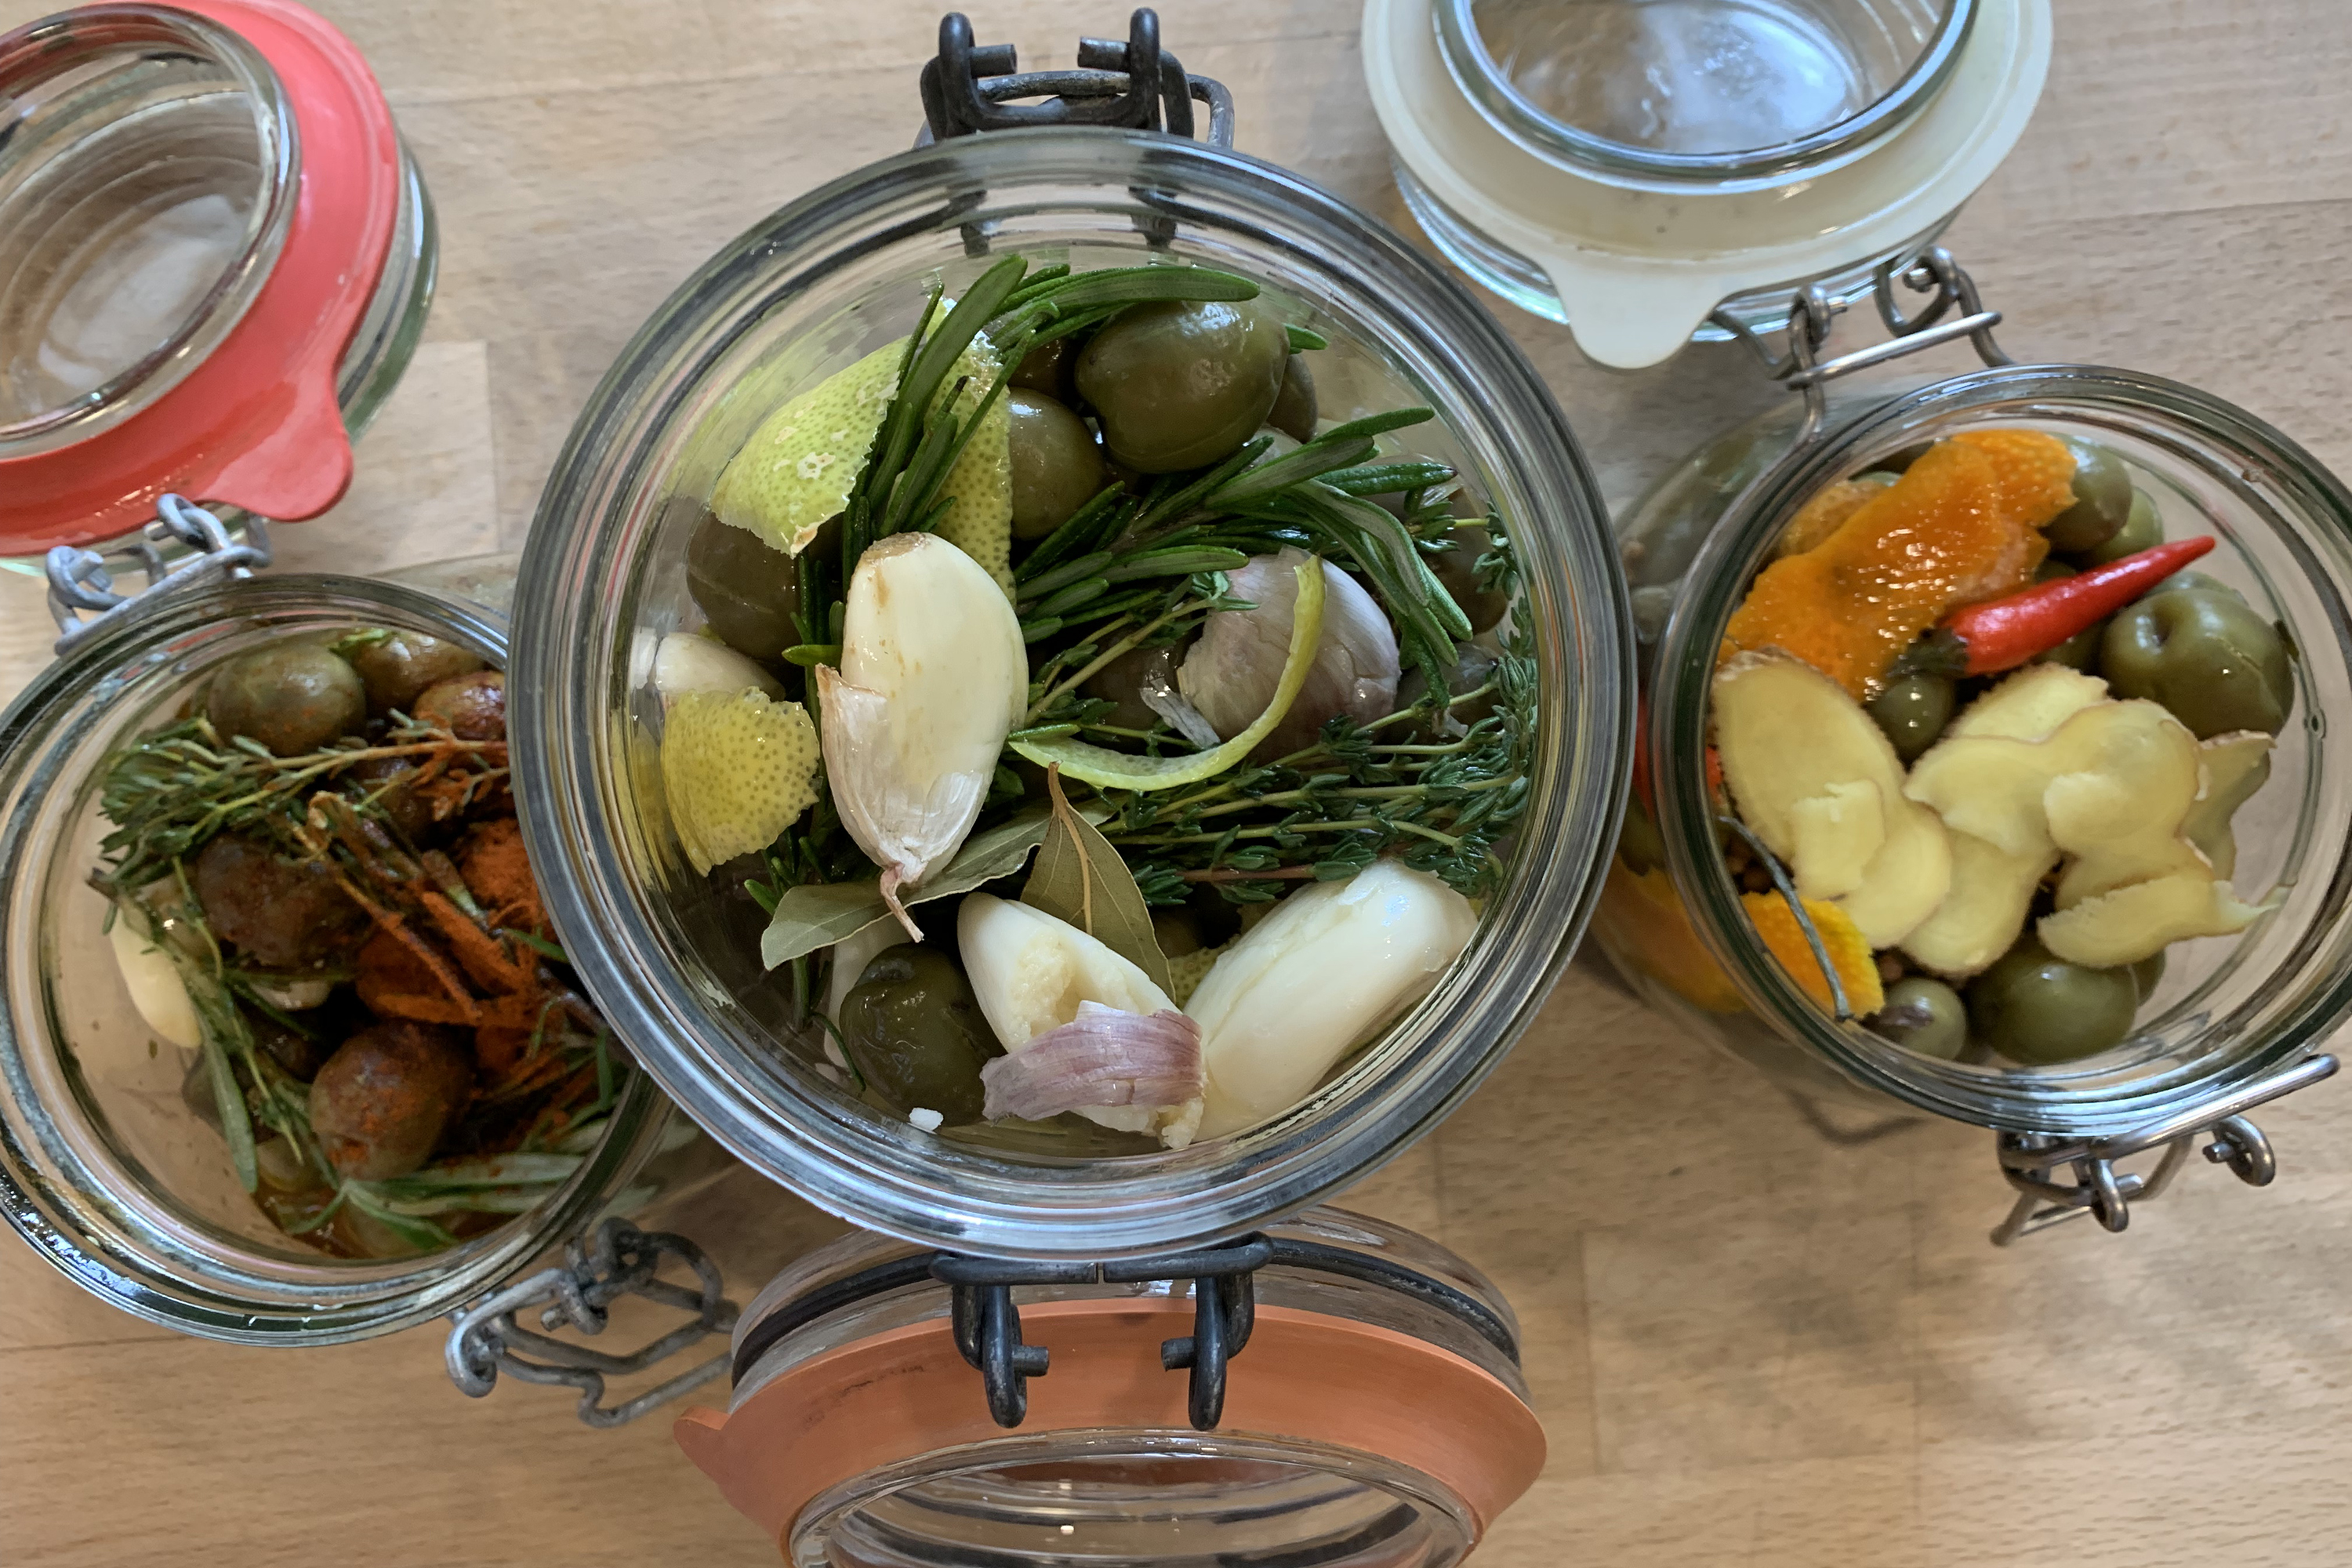
Mix one (gazpacha)
bay leaves
rosemary sprigs
thyme sprigs
garlic cloves, smashed
Pimentón
olive oil
Mix Two (Moto’s)
Thyme sprigs
Rosemary sprigs
lemon rind (unwaxed, organic)
garlic cloves
bay leaves
olive oil
Mix Three (Thai)
fennel seeds
orange rind
ginger; thinly sliced
fresh coriander
coriander seeds – toast in a dry pan to release the oils
bird’s eye chilli; cut lengthways
olive oil
Mix Four (Sevillano)
dried orégano
dried thyme leaves
Cumin seeds -toast in a dry pan to release the oils
orange rind
garlic cloves
Jerez vinegar
olive oil

Hi, could you tell me what size holes are in your olive scoring tool and the spacing between the blades? I would like to make one of those but can’t find any information.
Thanks
Hi Dan,
My scoring tool has 3 holes: 20mm, 23mm, and 26mm. The blades protrude about 7mm – it’s rustic!
Let me know how you get on.
Happy preserving!
JAM